A perfect lip look can elevate any makeup routine, adding charm, sophistication, and confidence to your overall appearance. Achieving that flawless pout doesn’t have to be complicated. By mastering the art of combining lip liner and lip gloss, you can create lips that are well-defined, voluminous, and irresistibly beautiful. At ZM Beauty Supply, we believe that every makeup enthusiast should have the tools and knowledge to craft stunning lip looks that suit their style and personality. This guide will provide detailed, step-by-step instructions to help you achieve adorable lip makeup looks using lip liner and lip gloss.
Step 1: Preparing Your Lips
Proper preparation ensures your lip makeup applies smoothly and lasts longer. Neglecting this step can result in uneven application, feathering, or premature fading.
- Exfoliate: Gently exfoliate your lips to remove dead skin cells. Use a lip scrub or a soft toothbrush in circular motions. This will leave your lips smooth and ready for makeup application.
- Hydrate: Apply a nourishing lip balm to moisturize your lips. Allow it to absorb for a few minutes, then blot any excess to prevent the lip liner or gloss from sliding.
- Prime: For enhanced longevity, consider using a lip primer. Lip primers create a smooth base, reduce feathering, and help your lip color adhere better throughout the day.
Step 2: Choosing the Right Lip Liner
Selecting the correct lip liner is key to defining your lips and enhancing their natural shape.
- Shade Matching: For a subtle look, pick a lip liner that matches your natural lip color. For bold statements, select a shade that complements or slightly contrasts your chosen lip gloss.
- Texture: Creamy liners are easier to blend and ideal for soft, natural looks. Matte liners provide a more defined, structured effect, perfect for longer-lasting lip looks.
- Shape Definition: Decide whether you want to slightly overline your lips for added fullness or follow your natural lip line for a classic appearance.
Step 3: Applying Lip Liner
Applying lip liner correctly ensures your lips look precise, symmetrical, and well-proportioned.
- Outline: Start by outlining your upper lip, beginning at the cupid’s bow and moving toward the corners. Repeat the process on the lower lip, connecting the lines at the corners for a seamless shape.
- Fill In: Lightly fill in the entire lip area with your liner. This step not only enhances color intensity but also acts as a base for your lip gloss, making it last longer.
- Blend: Use a lip brush or your fingertip to soften harsh lines, creating a smooth transition between your natural lip color and the liner.
Step 4: Choosing the Perfect Lip Gloss
Lip gloss adds shine, dimension, and a touch of glamour to your lips. Selecting the right formula and shade is crucial.
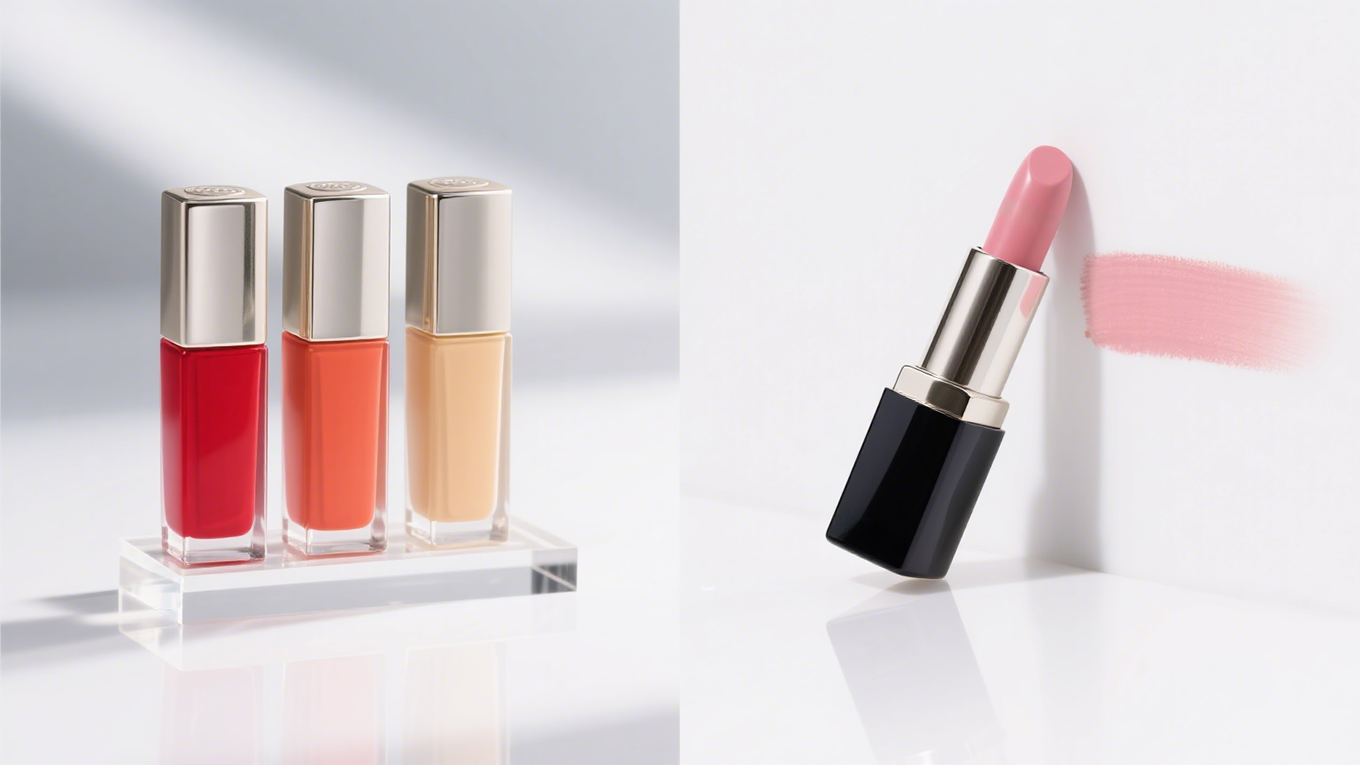
- Shades: Neutral and pinkish tones create a cute, everyday look. Bold reds or berry shades make a statement for evening or special occasions. Clear gloss is versatile and enhances the natural beauty of any lip color.
- Formulas: Choose from sheer, tinted, or high-shine glosses depending on the effect you want. Sheer gloss provides a natural, fresh look, while high-shine formulas give a polished, glamorous finish.
- Moisturizing Ingredients: Look for lip glosses enriched with nourishing oils like jojoba, coconut, or shea butter to keep your lips hydrated and soft.
Step 5: Applying Lip Gloss
Applying lip gloss may seem simple, but technique plays a big role in achieving a flawless, long-lasting look.
- Center First: Apply the gloss to the center of your lips using the applicator. This helps to prevent over-application and creates a natural gradient effect.
- Blend Outward: Spread the gloss toward the corners of your lips using gentle strokes. Avoid pressing too hard, which can disturb your lip liner and create uneven texture.
- Layering: For extra shine and dimension, apply a second thin layer of gloss, focusing on the center of the lips to make them appear fuller.
- Highlight: Dab a small amount of clear or lightly tinted gloss on your cupid’s bow and the middle of the lower lip to enhance lip volume and reflect light beautifully.
Step 6: Tips for Adorable Lip Looks
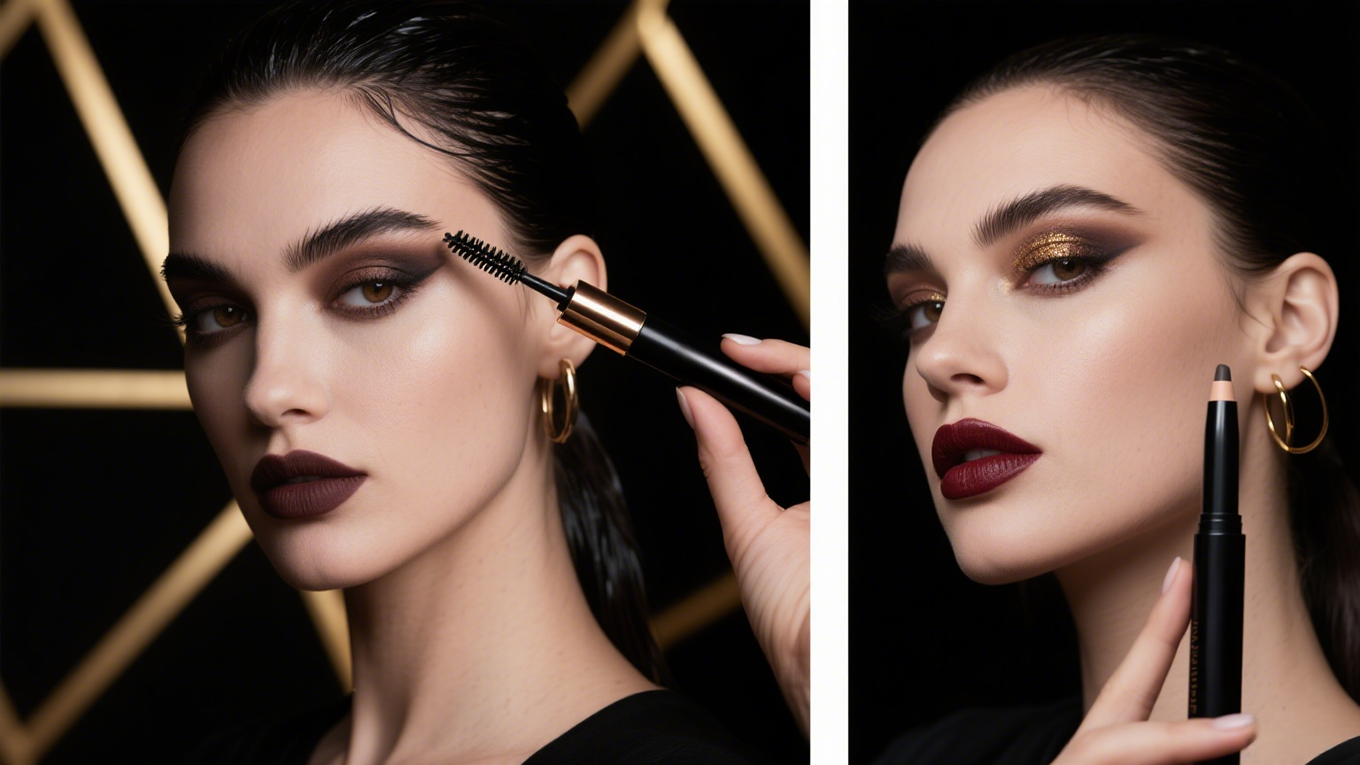
- Match Lip and Eye Makeup: For a balanced look, coordinate your lip gloss with your eyeshadow or blush tones. Soft pinks and corals pair well with neutral eyes, while bold lips complement minimal eye makeup.
- Use Concealer: Apply a touch of concealer around your lips after glossing to clean up edges and prevent feathering.
- Experiment with Textures: Mixing matte lip liners with glossy finishes creates depth and a professional, modern look.
- Maintain Hydration: Keep your lips moisturized throughout the day to prevent the gloss from becoming sticky or uneven.
Step 7: Creative Lip Art Ideas
For those who enjoy experimenting with makeup, lip liner and lip gloss can be used to create playful, fashionable effects.
- Ombre Lips: Combine two lip liner shades with a gloss for a gradient effect. Darker liner on the edges gradually fading into lighter tones at the center adds dimension.
- Gloss Over Matte: Apply a matte lipstick first, then layer a gloss on top for added shine and a fresh look.
- Layered Tints: Blend different tinted glosses for unique shades that reflect your personal style.
Mastering the combination of lip liner and lip gloss allows you to create adorable, polished lip looks that enhance your natural beauty. With proper preparation, careful application, and a touch of creativity, you can achieve lips that are well-defined, vibrant, and full of charm. At ZM Beauty Supply, we offer a wide variety of lip liners, glosses, and tools to help you explore every lip style imaginable. Experiment with shades, textures, and techniques to discover the perfect lip look for every occasion, from casual daytime charm to glamorous evening allure.